This week I decided to get some bases made up for the army. Inspired by the bases made to look steampunk or ancient runes, I decided to make the terrain of the bases look like an ancient fallen city of machines. We'll get to that result later, but in the meantime, you must sit through my process. I decided to use my favorite sculpting medium, polymer clay. I personally use Super Sculpey for the colors, but it's a little weak. If you want polymer clay, use FIMO. If you prefer just painting and don't care for clay color, use an epoxy like Milliput or Apoxie Sculpt for added durability.
The first thing I wanted to do was make some gear molds. I have 16 bases, so saved some of the sculpt time by making a mold. I made a large one over some gears and jewelry I thought had the right texture using white Sculpey III...which is good in bulk but really freakin' soft, so be careful working with it when baked. I then scored the area with a wire brush to create a terrain texture in the negative space of the mold. With a mold this big, I can get many different angles for the bases without it looking repetitive.

To add the stone slabs I want, I'm going to make a foax stone from a medley of colors marbled together with a spritz of nutmeg for texture. Any stone you can imagine from sandstone to quartz to turquoise can be made using polymer clay. I'm using a technique to get veins into the clay, so after I marble the clay (mix the colored clay enough to still see the initial colors swirled in), I'm going to tear the clay into tiny pieces. I then freeze the pieces for a few minutes to stiffen the chunks. When it's chilled enough, I add acrylic paint lightly to the clay chunks. Rolling the clay together into a giant blob, I then freeze it again for a few minutes. Using a thin exacto blade, I sliced the clay ball into 1mm thick slices. Presto! Foax stone slabs for me to sculpt any which way I want. Though admittedly, the wash I'll use may conceal most of my work. It still adds a depth to the overall project, even if it's not as visible.

What you really need to do is look up a polymer clay tutorial online and not listen to Paige's confusing process that only makes sense in her fragile, messed up mind.
So after a day of using the mold, tossing about the stone pieces, and sculpting machine parts, I baked the clay and yielded these results (non painted on left, finished in right row):
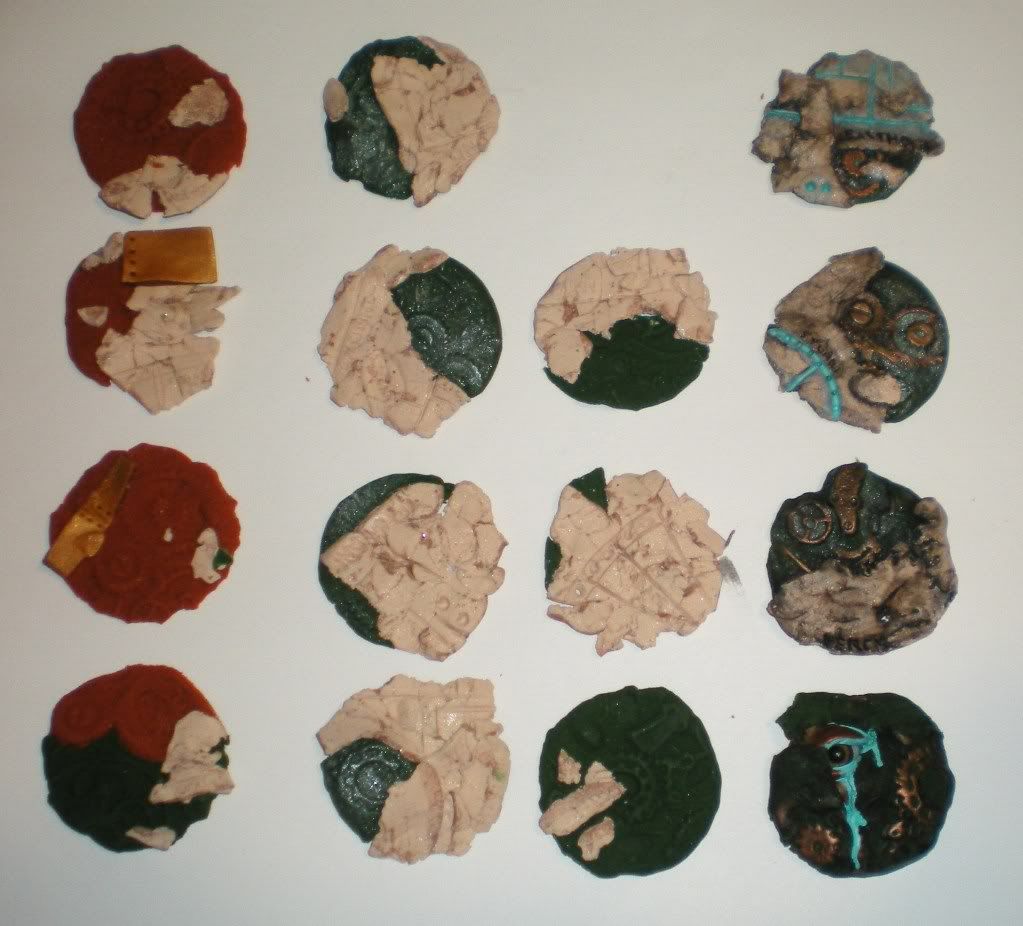
The bases I finished were for the three knights I have finished, then the two really unique bases I made.
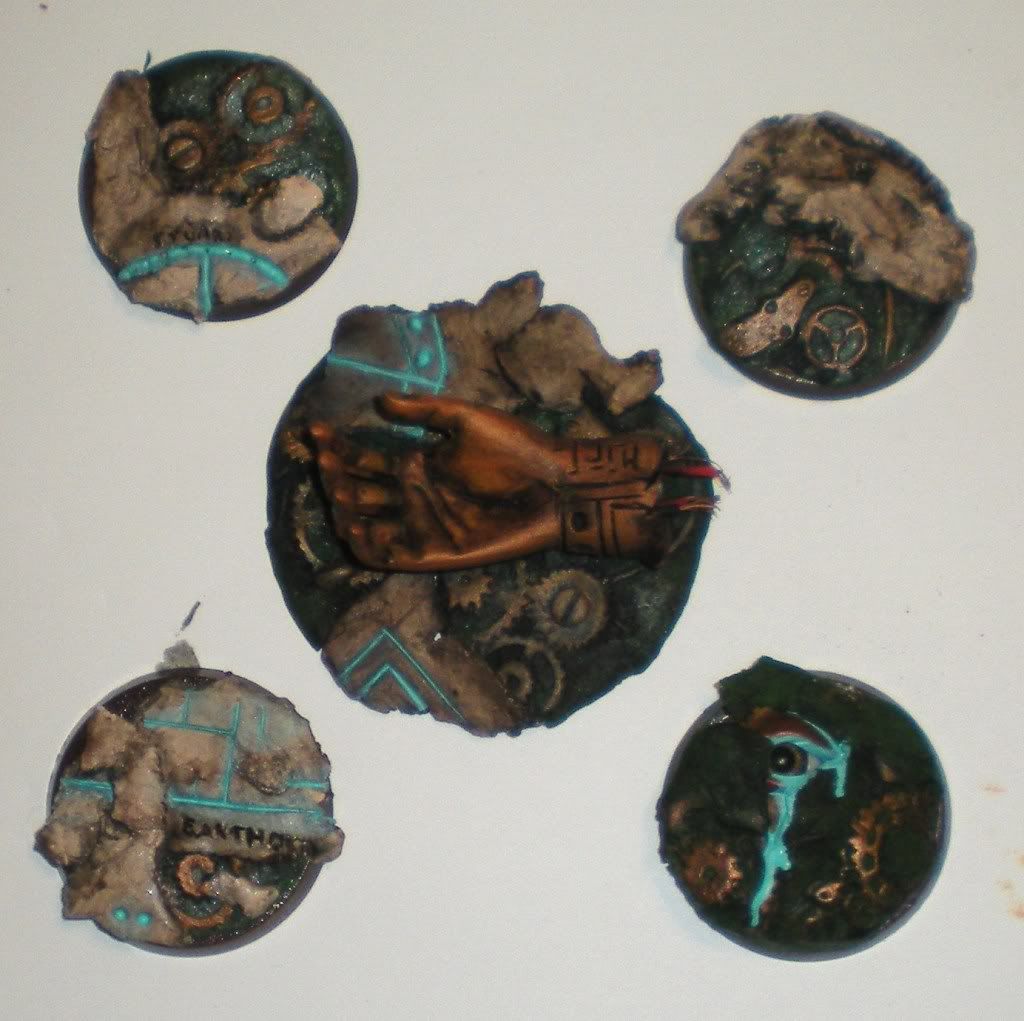
The blue in the ruins I envisioned as some type of ancient warp power awakened by the Gray Knights' presence...or it's just me watching too much Disney's Atlantis. Nonetheless, I'm really proud of how the hand and eye turned out. The eye base will be going to my banner bearer and the hand will be the roost for my newest incoming acquisition, a Kapitan Ivanka Kurganova from Raging Heroes. I plan to make her an inquisitor and paint her like this:

I admit I may have bought her out of narcissism.
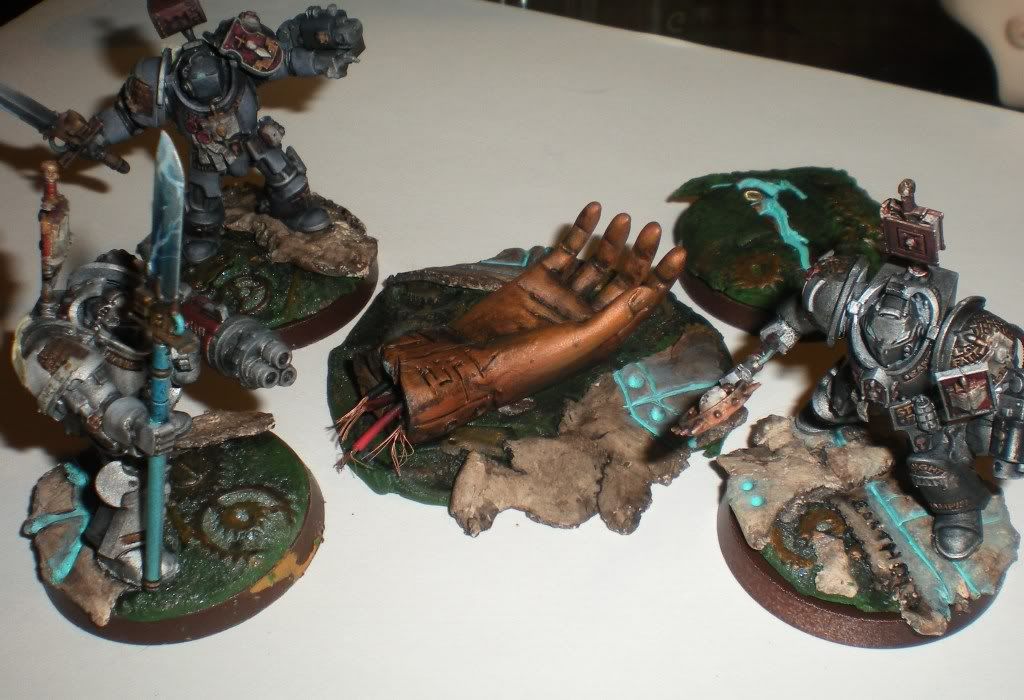
Dang, she's just gorgeous and she'll look so bad@$$ standing atop that hand *drool*. My other guys look good on their bases too, I guess...
Stuart: Poke it and see if it moves!
Percy: OME, guyz! That's sooooo gross!
I learned two things during this escapade. One, don't work with paints when you have a date later and you're wearing a satin dress. That was really stupid. Two, those plastic bases can't handle ovens very well. Pathetic little things. My other plastic stuff can handle 275 degrees of heat, but noooooooo, 40k bases are just weaklings, I say! WEAKLINGS! (Okay, maybe I should have removed the bases from supporting my clay bases)
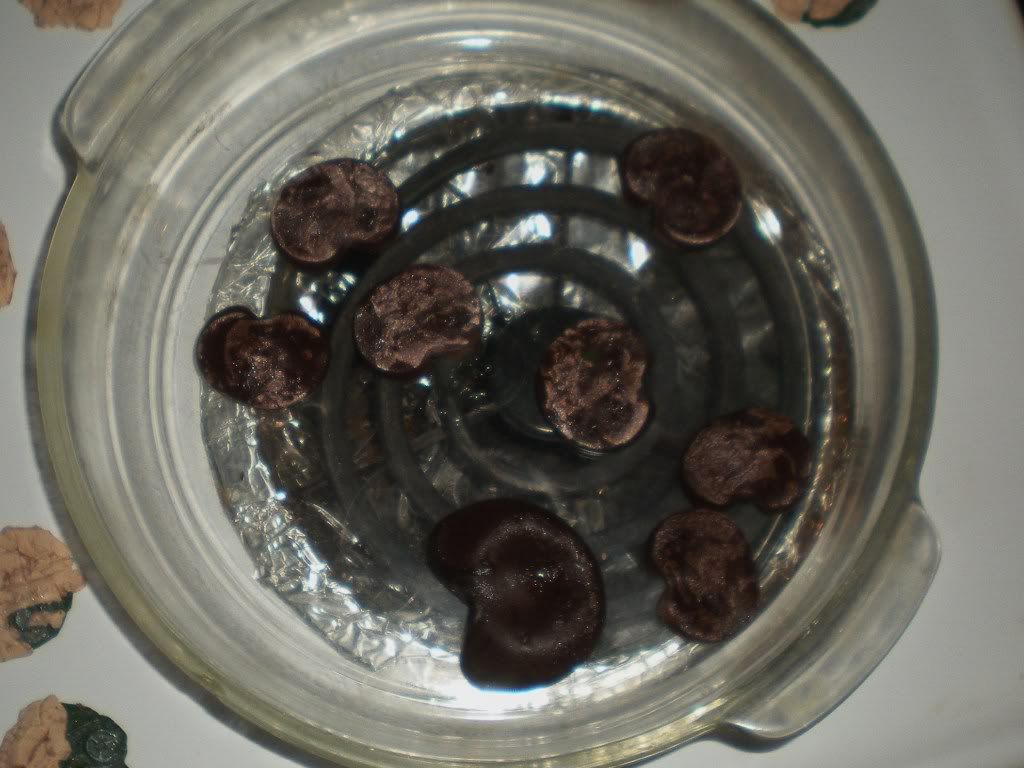
At this point, all you can really do is just laugh...but that may be because of plastic fumes.
No comments:
Post a Comment